Guidelines for Drywall Repair
Expert Tips for Seamless Drywall Repairs: A Step-by-Step Guide
Drywall repair is a common home improvement task that can be tackled successfully with the right knowledge and tools. Whether you're dealing with small cracks, holes, or larger damage, these guidelines will help you achieve a professional-looking finish on your drywall repair project:
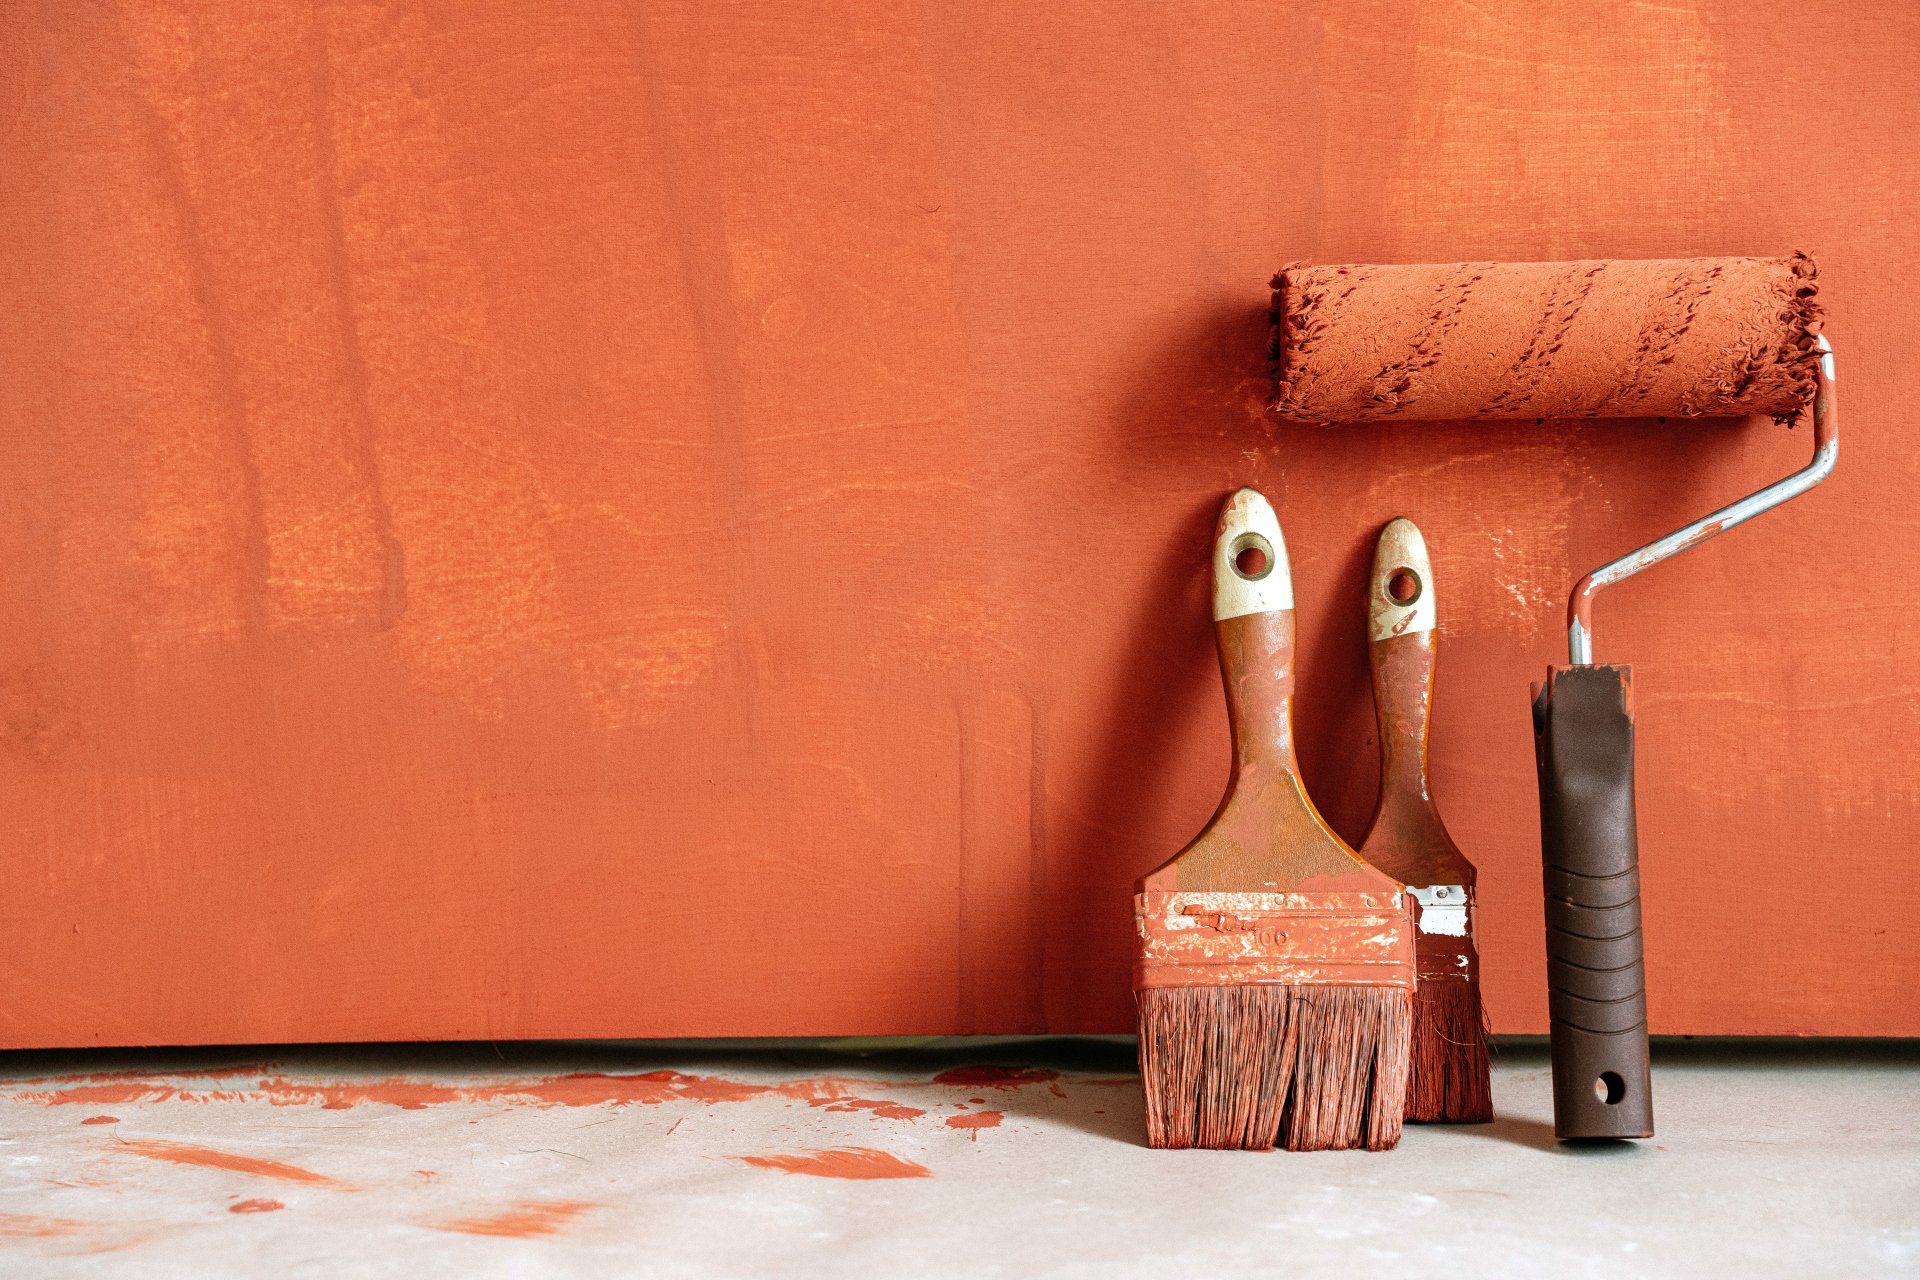
- Gather the Necessary Tools and Materials:
- Before you begin, make sure you have all the tools and materials you'll need. This typically includes drywall compound, joint tape, putty knives, sandpaper, a utility knife, a sanding block or pole sander, a drywall saw, and safety gear (goggles, dust mask).
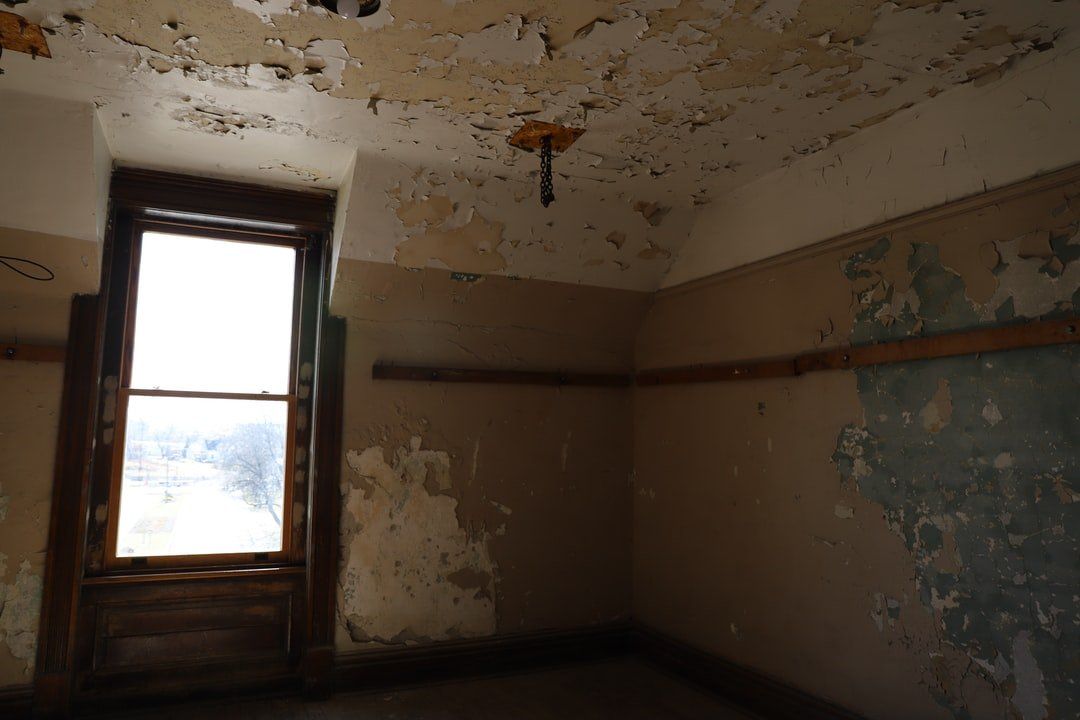
- Assess the Damage:
- Examine the damaged area to determine the extent of the repair needed. Different types of damage (cracks, holes, dents) may require slightly different approaches.
- Prepare the Work Area:
- Clear the area around the damaged drywall and protect the floor with a drop cloth or plastic sheet to catch any debris or dust. Turn off the power if you'll be working near electrical outlets or switches.
- Clean and Remove Loose Material:
- Use a utility knife to remove any loose or damaged drywall around the area to be repaired. Clean the surface of dust, dirt, and debris.
- Apply Joint Tape (for Cracks and Joints):
- For cracks or joints, apply self-adhesive mesh joint tape over the damaged area. This tape helps reinforce the repair and prevent future cracking. Press it firmly to ensure it adheres well.
- Fill Holes and Cracks:
- Apply a thin layer of joint compound over the damaged area using a putty knife. Feather the edges to blend it with the surrounding wall. Allow it to dry completely, and then sand it smooth. Repeat this process for multiple coats until the damaged area is level with the rest of the wall.
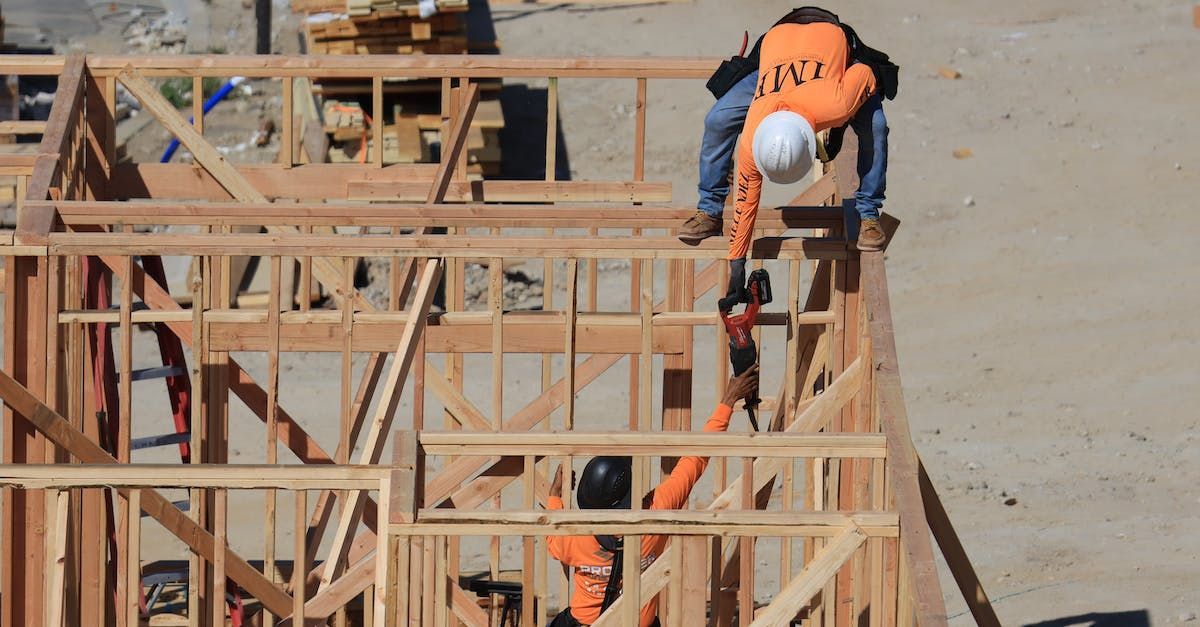
- Repair Large Holes:
- For larger holes, use a patch kit or create a patch using a piece of drywall. Secure the patch in place with screws or drywall adhesive. Apply joint compound over the patch, feathering the edges to blend it with the surrounding wall. Again, allow it to dry and sand it smooth.
- Sand and Feather:
- Sand each layer of joint compound between applications to create a smooth, seamless finish. Use a sanding block or pole sander to feather the edges of the compound, so it seamlessly blends with the existing wall.
- Prime:
- Before painting, apply a primer to the repaired area to ensure that the paint adheres properly and to create an even finish. Allow the primer to dry according to the manufacturer's instructions.
- Paint:
- Once the primer is dry, paint the repaired area to match the rest of the wall. Be sure to feather the paint into the surrounding area to create a seamless look.
- Clean Up:
- Dispose of any debris, clean your tools, and remove any protective coverings you placed on the floor.
- Inspect and Touch Up:
- After the paint has dried, inspect the repaired area to ensure it matches the rest of the wall. If needed, touch up the paint to achieve a consistent appearance.
Remember that patience and attention to detail are essential for a successful drywall repair. Following these guidelines will help you achieve a professional result and maintain the beauty of your walls.

Question and Answer for Drywall Repair
Q: What are the key tools and materials needed for repairing drywall?
A: To repair drywall, you'll need tools such as joint compound, drywall tape, putty knives, sandpaper, a utility knife, a sanding block or pole sander, a drywall saw, and safety gear like goggles and a dust mask. Additionally, you may require drywall patches for larger holes, primer, and paint to finish the repair.
Q: How do I determine the type of repair needed for my damaged drywall?
A: The type of repair depends on the nature and size of the damage. Small cracks or holes can often be filled with joint compound, while larger holes may require patches or replacement drywall. Assess the damage carefully before starting to ensure you use the appropriate repair method.
Q: What is the importance of sanding and feathering in the drywall repair process?
A: Sanding is crucial to create a smooth and seamless finish. It removes imperfections, evens out the repaired area, and prepares it for painting. Feathering involves blending the edges of the repair with the surrounding wall, ensuring that there are no noticeable seams or bumps.
Q: Why is priming necessary before painting over a drywall repair?
A: Priming is essential as it seals the repaired area and provides a uniform surface for paint application. It helps paint adhere evenly, prevents paint from soaking into the repair materials, and ensures the repaired section matches the rest of the wall in terms of texture and appearance.
Q: How many coats of joint compound should I apply when repairing drywall?
A: The number of coats depends on the extent of the damage. Typically, you'll apply multiple thin coats of joint compound, allowing each coat to dry completely before sanding and applying the next one. For small repairs, two or three coats may suffice, while larger repairs may require more.
Q: What safety precautions should I take when repairing drywall?
A: Safety is crucial when working with drywall. Always wear safety goggles and a dust mask to protect your eyes and respiratory system from dust and debris. If you're working near electrical outlets or switches, turn off the power to the affected area to avoid any electrical hazards.
Q: Can I skip the priming step when repairing drywall and proceed directly to painting?
A: While it's possible to skip priming, it's not recommended. Priming helps ensure a professional finish and can save you time and paint in the long run. It also helps prevent the repaired area from appearing different from the rest of the wall after painting.
Q: How can I achieve a seamless finish when repairing drywall?
A: To achieve a seamless finish, pay attention to details like proper preparation, feathering the edges of the repair, and using thin, even coats of joint compound. Sand between coats to create a smooth surface, and be patient throughout the drying and painting process. This attention to detail will result in a professional-looking repair.